How to install Esri ArcGIS Desktop on your computer?
Esri ArcGIS Desktop is a powerful GIS software that allows you to create, analyze, and share maps and data. In this tutorial, we will walk you through the steps to install ArcGIS Desktop on your computer.
Step 1: Download the installer
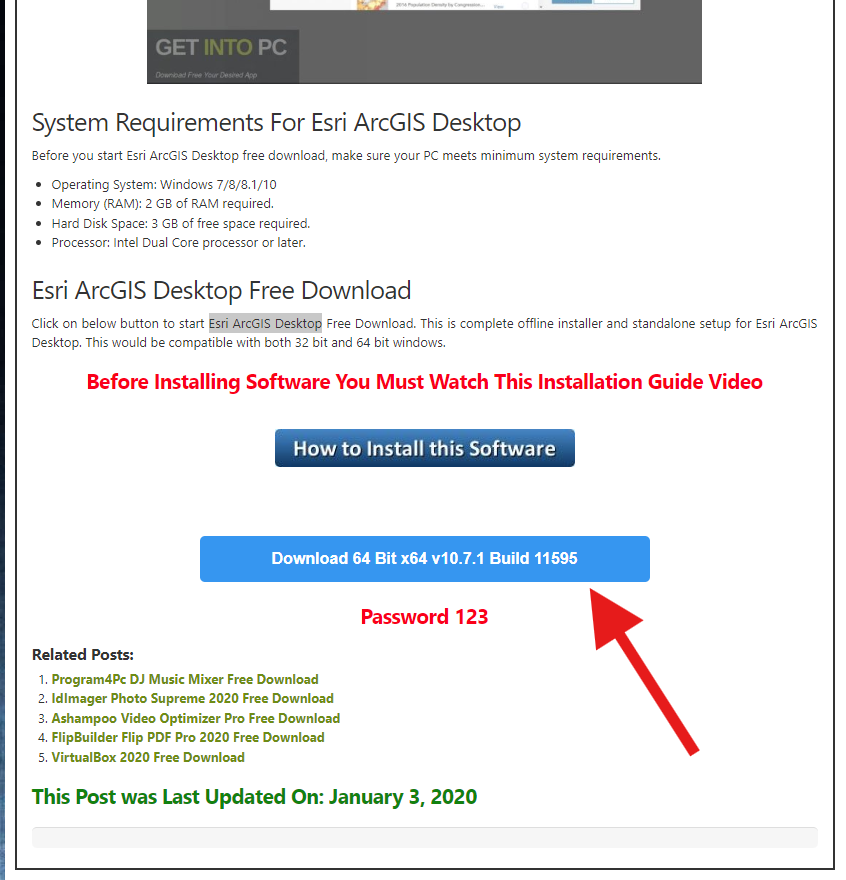
- Click this here (opens in a new tab) and scroll down to get the download link as shown in this image for the ArcGIS Desktop installer.
- This will redirect and take some time to download.
Step 2: Turn off your Antivirus software
- Follow tutorial from this link (opens in a new tab) to turn off your antivirus software.
- You don't need any other antivirus software. Windows Defender is enough.
⚠️
This is very important step. If you don't turn off your antivirus software, it will delete the crack files.
Step 3: Extract the zip file
- Right click the downloaded file and select
Extract Hereto extract the contents of the zip file. - You will be prompted to enter password. The password is
123.
If you like, here is a video tutorial explaining the whole installation process. Video tutorial (opens in a new tab)
Step 4: Run the setup
- Open the extracted folder and run the setup file.
- Follow the on-screen instructions to install ArcGIS Desktop on your computer.
Step 5: Crack the software
- After installation, go to the extracted folder and open crack folder.
- Copy the files in the crack folder and paste them into the installation directory.
